No one wants squeaky, creaky stairs. Over the years, I’ve tested different installation methods and found one that eliminates noise while keeping fasteners completely hidden. Some might say my approach is unconventional, but as the old saying goes: If it works, it’s not a bad idea. I share with you my Hidden Fastener Method after reading this article, you’ll know exactly how to fasten your stair treads securely.

In this guide, I’ll walk you through my process for attaching new or refurbished stair treads to stringers using a hidden bracket system. You’ll need a few basic supplies, all available at your local hardware store or online.
Corner L-Bracket | 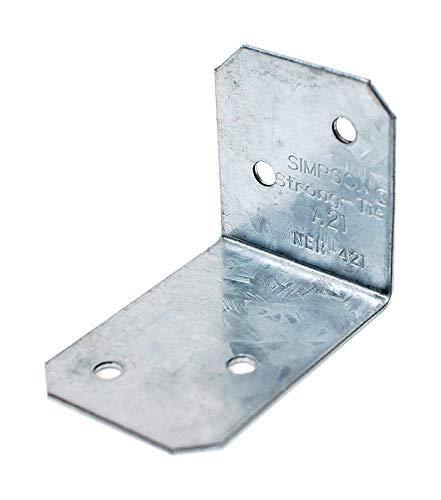 | |
Kreg Screws | 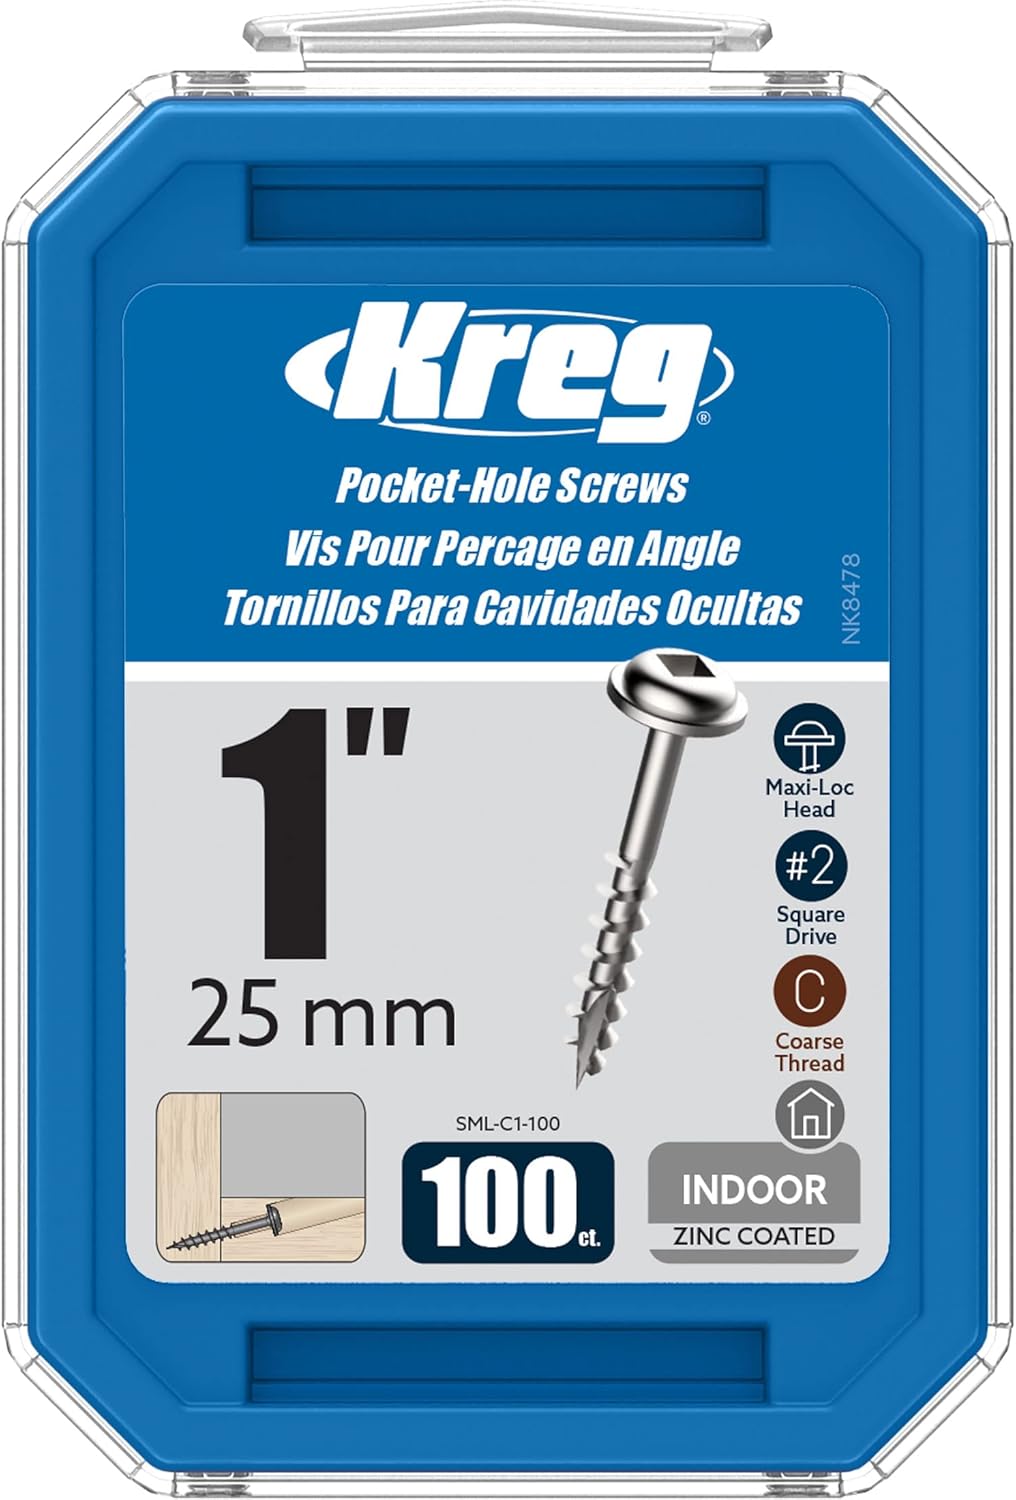 | |
Liquid Nails |  | |
Wood Glue – Titebond |  | |
Ryobi Finish Nailer |  | |
Porter Cable Drill Driver |  | |
Level 3 ft |  | |
Stair Tread Measuring Tool |  |
Traditional Stair Tread Attachment Methods
Before diving into my preferred technique, let’s review the two most common ways professionals install stair treads and why I chose a different route.
1. Nailing Stair Treads from the Top
- How it works: The tread is secured by driving nails through the top and into the stringer below.
- The problem: Over time, wood expands and contracts, loosening the nails and causing squeaks.
2. Screwing Stair Treads from the Top
- How it works: Screws are driven through the tread into the stringer, then covered with wood putty or plugs.
- The problem: While stronger than nails, the filled holes remain visible, affecting aesthetics.
My Solution: Hidden Brackets for a Silent, Clean Finish
I wanted a method that:
✔ Hides all fasteners for a seamless look.
✔ Prevents squeaking by clamping treads tightly.
✔ Uses screws for superior holding power without visible marks.
What You’ll Need:
- L-brackets (right-angle brackets) – 6 per tread (or more for wider stairs)
- Heavy-duty construction adhesive (Liquid Nails works great)
- Wood glue (Titebond for tread-to-riser bonding)
- Screws (1” to 1.25” self-drilling, like Kreg screws)
- Level & shims (if stringers are uneven)
Step-by-Step Installation Guide
Step 1: Remove Old Treads (If Necessary)
- Pry up existing treads carefully.
- Keep a ladder nearby if stairs are your only access.
Step 2: Measure & Cut New Treads
- Use a stair tread measuring jig (store-bought or homemade) for precision.
- Ensure each tread fits snugly between stringers.
Step 3: Install L-Brackets on Stringers
- Position brackets on the stringers so the tread-side faces up.
- Use a level to ensure brackets align evenly (shim if needed).
- Secure with screws (I prefer 1″ Kreg screws to prevent splitting).
- Placement tip: Two brackets per stringer, staggered for balance.
Step 4: Apply Adhesive for a Squeak-Free Bond
- Run a bead of Liquid Nails along each stringer.
- Apply wood glue where the tread meets the riser.
- Why? Glue prevents movement the main cause of squeaks.
Step 5: Secure Treads from Below
- Press the tread into place, wiping excess glue immediately.
- From underneath, screw the brackets into the tread for a clamping effect.
- Pro tip: If stairs are enclosed, install one tread and riser at a time.
Step 6: Reinforce the Riser Connection
- Nail or screw through the back of the riser into the tread for extra hold while the glue dries.
Enjoy Silent, Beautiful Stairs for Years
With this method, your stairs will be rock-solid and squeak-free, with no visible screws or nails. Whether you’re using oak stair treads, pine, or another hardwood stair tread, this technique ensures a clean, professional finish. in last I just say you can use this method in outdoor stair treads and indoor stair treads, method of applying remain same.
Have you tried hidden brackets for stair treads? Share your experience in the comments!