In this article, I will tell you the whole process to install stair treads. Be careful when you install the vinyl stair treads. The flat surfaces you step on when using a staircase are called stair treads. If you are looking for the right instructions on how to install vinyl stair treads, then all the steps below will surely help you. They play a key role in safety and comfort while also enhancing the overall look of your home. With various materials and designs available, stair treads can match your style and meet your needs effectively. So here are some instructions that you should follow while installing vinyl stair treads.

Proper installation of vinyl or rubber stair treads ensures safety, durability, and long term performance. Follow these expert approved steps for a flawless installation.
Utility knife | ||
Straightedge/ruler | ||
Measuring tape | ||
Hand roller | ||
Notched trowel | ||
Hammer (if using nails) | ||
Sanding block | ||
Putty knife | ||
Vinyl-specific adhesive | ||
Epoxy nose caulk | ||
Headless brad nails (optional) | ||
Leveling compound (if needed) | ||
Denatured alcohol (for cleanup) | ||
Gloves | ||
Safety glasses |
Vinyl Stair Tread and Riser Combo | 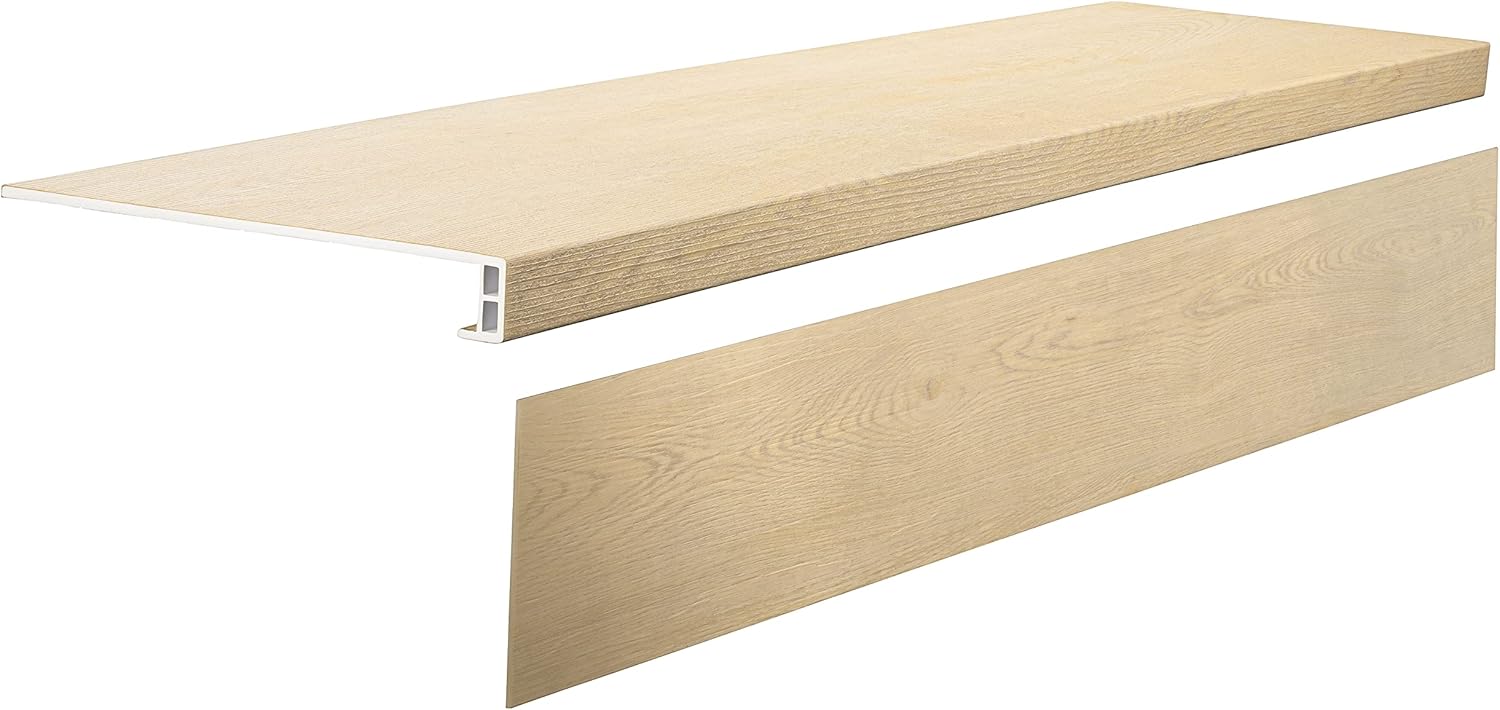 | |
Vinyl Stair Treads | 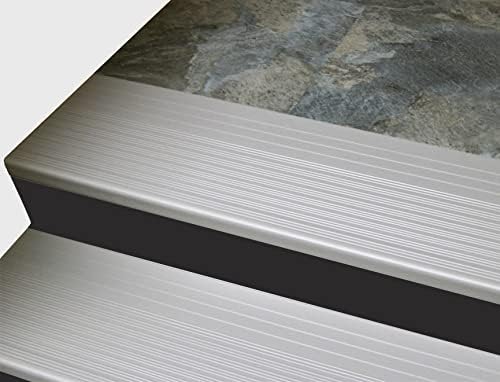 | |
Peel and Stick Vinyl Stair Risers Stickers for Steps |  | |
Step Edge Protector Vinyl Stair Nose for Outdoor & Indoor |  |
Where to Install Vinyl Stair Treads
- Ideal Surfaces: Smooth, dry interior steps that match the tread contour especially where the flat surface meets the nosing.
- Critical Requirement: A tight fit is mandatory. Use Epoxy Nose Caulk (essential for adjust-a-nose treads) to eliminate gaps.
Avoid Installing On:
- Steps with incompatible shapes (unless modified per manufacturer guidelines).
- Exterior stairs (vinyl/rubber treads are not designed for outdoor use).
Pre-Installation Preparation
1. Environmental Conditions
- Maintain a minimum temperature of 70°F (21°C) for 48 hours before, during, and after installation.
- Store treads flat in the installation area to acclimate.
2. Step Surface Prep
- Clean: Remove grease, paint, adhesives, or debris.
- Repair: Fill cracks/holes with underlayment compound; secure loose wooden steps with nails.
- Level: Sand uneven edges for a flush fit.
3. Cutting & Fitting Treads
- Treads are oversized; trim to match each step’s dimensions.
- Pro Tip: Cut the rear edge with a 5° underbevel for a snugger fit. Use a linoleum knife and steel straightedge.
Key Check:
- Zero gaps under the nosing. Fill voids with Epoxy Nose Caulk to prevent movement.
Adhesive Selection & Application
- Vinyl Treads: Contact adhesive (apply to both step and tread).
- Rubber Treads: Contact adhesive or rubber-specific adhesive.
- Avoid: Cove base adhesives (insufficient bond strength).
Installation Method:
- Apply adhesive evenly to the step and nosing.
- For contact adhesive, coat the tread underside.
- Work in sections: Adhere every other tread to ensure alignment.
Step-by-Step Installation
- Position the Tread:
- Start at the nosing, pressing firmly to eliminate air pockets.
- Roll the tread downward toward the riser using a hand roller.
- Secure the Nosing:
- Use headless steel brads if needed to hold the nosing in place while drying.
- Riser Installation:
- Risers must butt against the tread nosing never tuck underneath.
Post-Installation Protocol
Immediate Care:
- Wipe adhesive residue with denatured alcohol before it dries.
- No foot traffic for 24–48 hours (follow adhesive cure times).
Maintenance:
- Daily: Sweep with a soft-bristle broom.
- Cleaning: Damp mop with pH-neutral cleaner. Avoid excess water.
Troubleshooting
- Gaps? Reapply Epoxy Nose Caulk.
- Loose Treads? Check adhesive coverage; reinforce with brads.
- Protect New Treads: Cover with Masonite boards if construction continues.
FAQs
What is a stair riser?
The stair riser is the vertical part of a step between two treads.
What is a stair tread?
The stair tread is the flat surface of a step where you place your feet.
What is a stair nose?
The stair nose is the rounded edge at the front of a step, providing a finished look and added safety.
Can stair treads be washed?
Yes, stair treads can be washed. Use a damp cloth or mop with mild soap and water. Avoid soaking them to prevent damage. Always check the cleaning instructions for your specific material.
Can you buy new stair treads?
Yes, you can buy new stair treads, and they can also be washed with a damp cloth and mild soap.
stair tread maintenance tips
Stair Tread Maintenance Tips:
Avoid harsh cleaners to protect the surface.
Clean regularly with a soft broom or vacuum.
Wipe with a damp cloth and mild soap; avoid soaking.
Use non-slip mats to reduce wear.
Inspect for damage and replace if needed.
What is best finish for stair treads?
The best finish for stair treads depends on your needs:
- Polyurethane (Oil-Based): Durable and gives a warm, glossy finish. Ideal for high-traffic areas.
- Water-Based Polyurethane: Quick-drying, low odor, and clear finish. Great for modern looks.
- Hardwood Stain with Sealant: Enhances natural wood grain and provides protection.
- Matte or Satin Finish: Reduces slipperiness and hides scratches better.
Choose a finish that balances safety, style, and durability.
my last thought
Installing vinyl plank flooring on stairs is easy with the right tools and steps. Clean the stairs, measure carefully, and follow each step for a professional look. With patience and care, you’ll have beautiful, durable stairs in no time.
Pingback: How to fasten stair treads